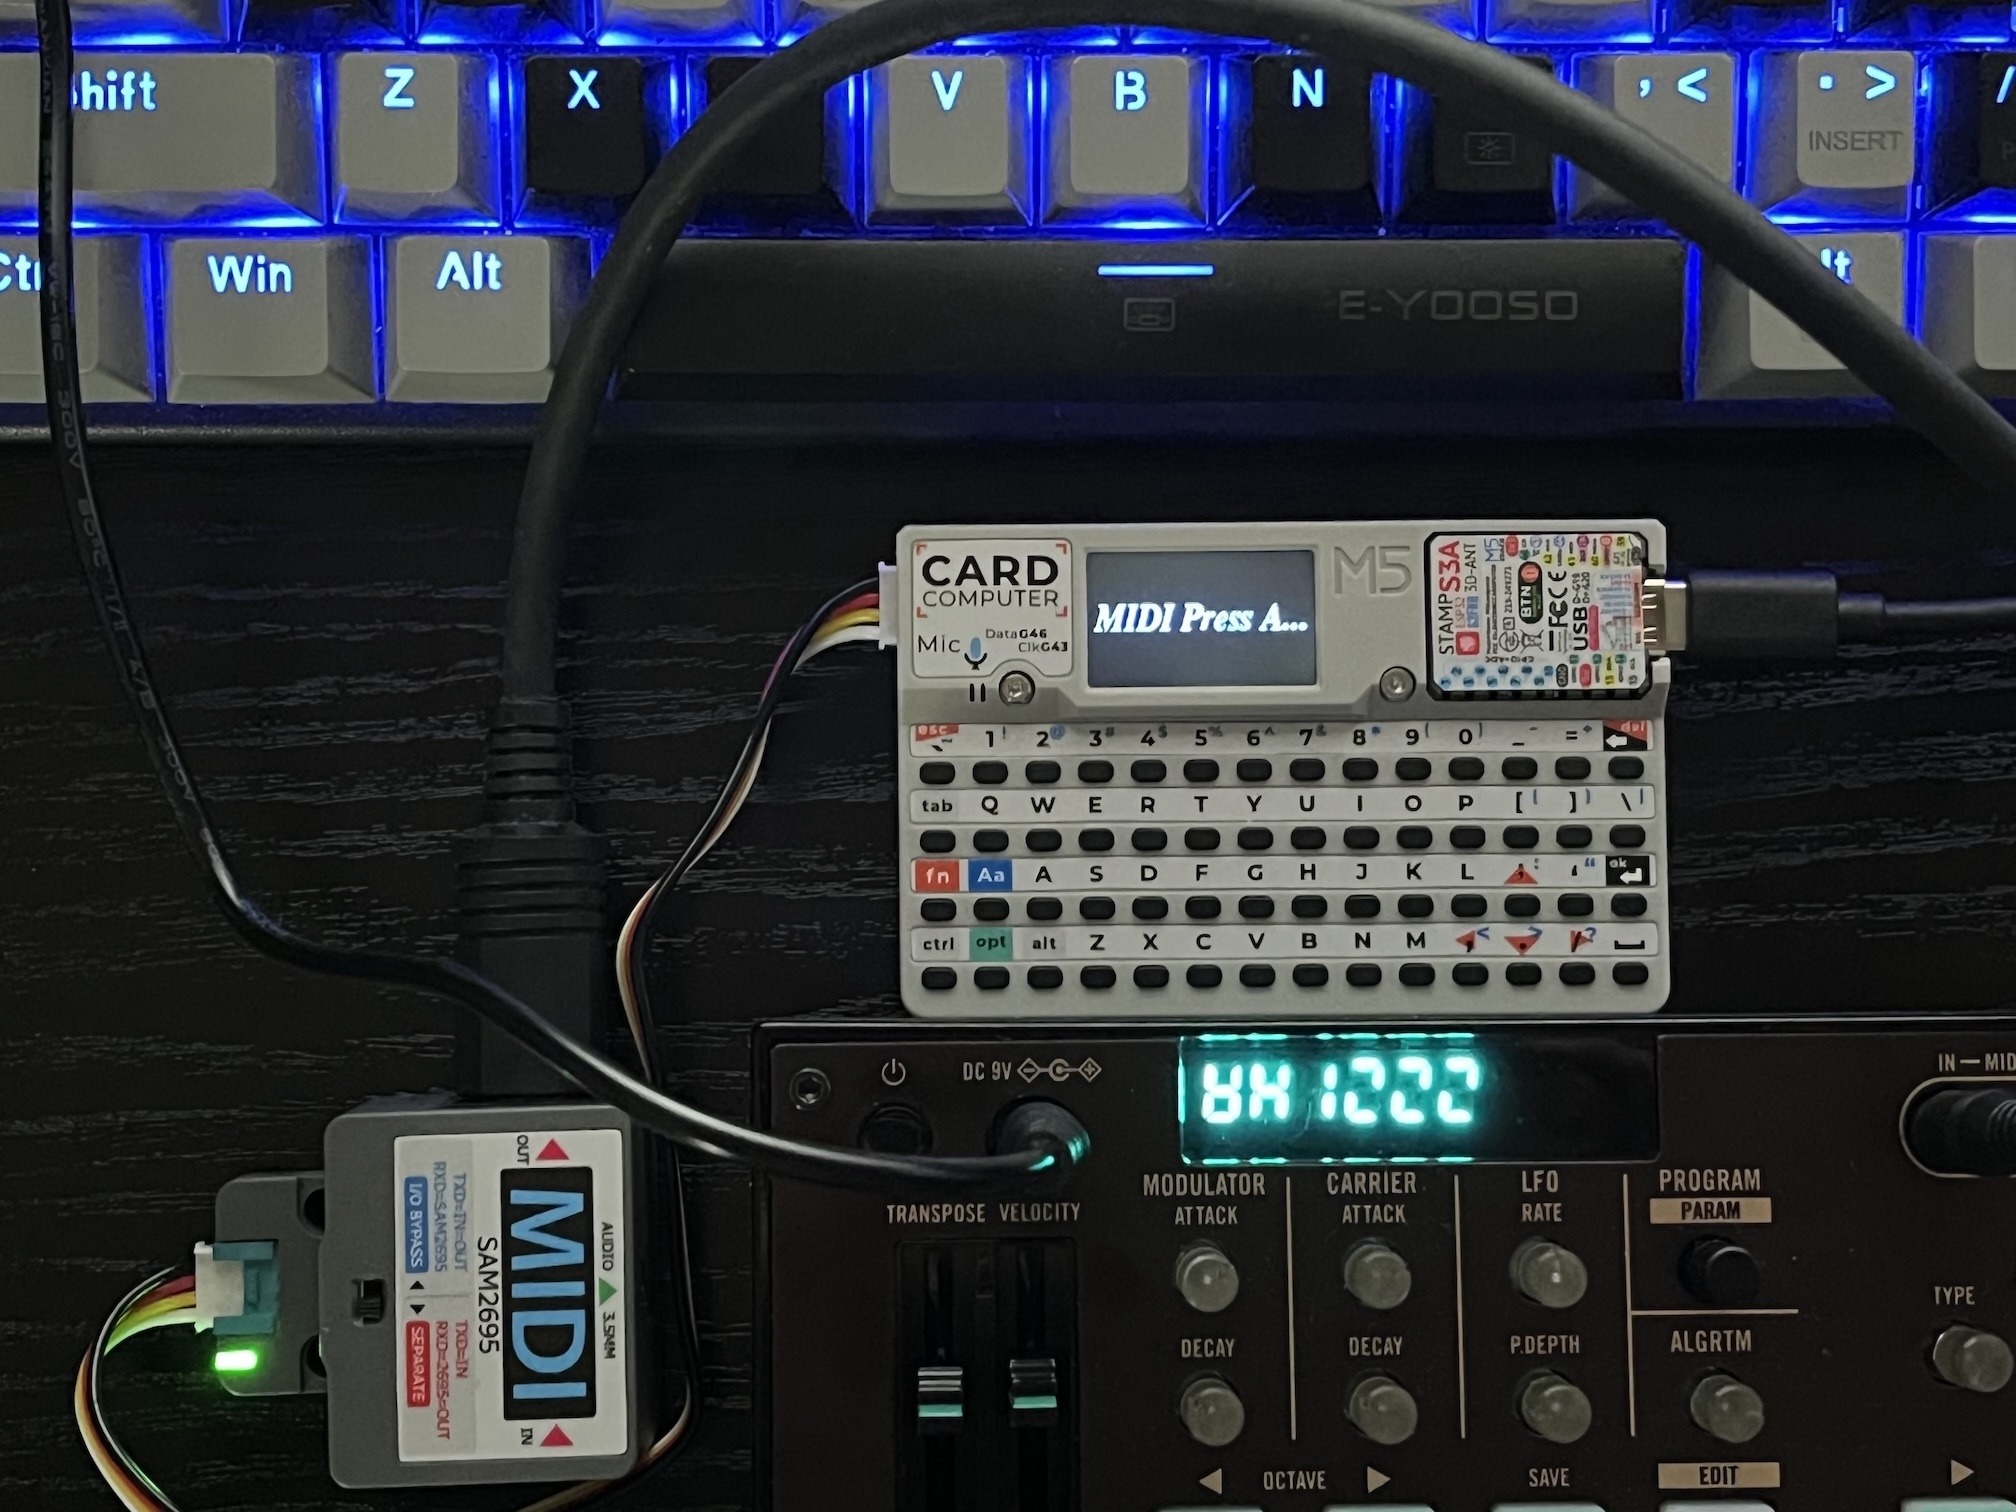
M5 Cardputer
M5StackシリーズのCardputerを購入しました。
ルックスがいいですね。
まずはキーボードを利用した、簡易MIDIキーボードを作ってみました。
MIDIインターフェイスは、前回も使用したものです。
参考)
https://github.com/m5stack/M5Cardputer
環境)Arduino IDE ver 2.3.5 / macOS Sequoia 15.3.1
|
1 2 3 4 5 6 7 8 9 10 11 12 13 14 15 16 17 18 19 20 21 22 23 24 25 26 27 28 29 30 31 32 33 34 35 36 37 38 39 40 41 42 43 44 45 46 47 48 49 50 51 52 53 54 55 56 57 |
#include "M5Cardputer.h" #include "M5_SAM2695.h" M5_SAM2695 midi; void setup() { auto cfg = M5.config(); M5Cardputer.begin(cfg, true); M5Cardputer.Display.setRotation(1); M5Cardputer.Display.setTextColor(BLUE); M5Cardputer.Display.setTextDatum(middle_center); M5Cardputer.Display.setTextFont(&fonts::FreeSerifBoldItalic18pt7b); M5Cardputer.Display.setTextSize(1); M5Cardputer.Display.drawString("", M5Cardputer.Display.width() / 2, M5Cardputer.Display.height() / 2); Serial.begin(115200); midi.begin(&Serial2, MIDI_BAUD, 1, 2); } int sts = 0; void loop() { M5Cardputer.update(); // max press 3 button at the same time if (M5Cardputer.Keyboard.isChange()) { if (M5Cardputer.Keyboard.isPressed()) { Keyboard_Class::KeysState status = M5Cardputer.Keyboard.keysState(); String keyStr = ""; for (auto i : status.word) { if (keyStr != "") { keyStr = keyStr + "+" + i; } else { keyStr += i; } } M5Cardputer.Display.clear(); M5Cardputer.Display.drawString(keyStr, M5Cardputer.Display.width() / 2, M5Cardputer.Display.height() / 2); Serial.printf("ON:%d %c\n", status.word[0], status.word[0]); midi.setNoteOn(0x90, status.word[0] - 'a' + 0x3c, 0x7f); sts = status.word[0]; } else { M5Cardputer.Display.clear(); M5Cardputer.Display.drawString("MIDI Press A...", M5Cardputer.Display.width() / 2, M5Cardputer.Display.height() / 2); Serial.printf("OFF:%d %c\n", sts, sts); midi.setNoteOff(0x90, sts - 'a' + 0x3c, 0x00); } } } |
キーボードは硬めで、ちょっと押しずらく感じます。
これは、さまざまな動画がありますが、かなり遊べるデバイスですね。
Category: 未分類

